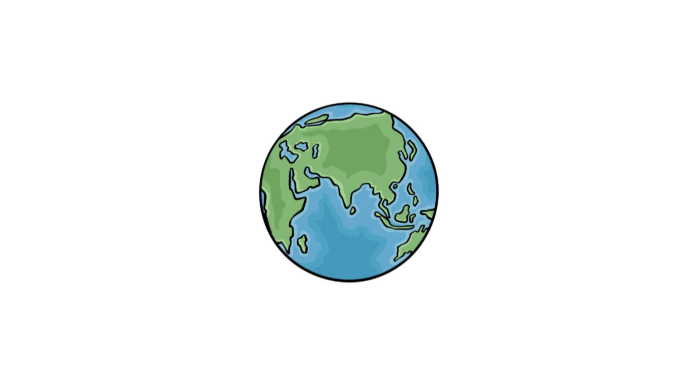
How to Draw The Earth. We all know the planet we live on very well, even if we don’t think about it often!
Also, check our Unicorn Coloring Pages.
This planet contains many amazing countries and continents and is a beautiful sight from space.
It can also be a lot of fun to draw, and this how to draw the earth guide is here to help!
At the end of these six steps, we will create a beautiful rendering of the planet we call home. You’ll even be able to create your variations once you master this!
How to Draw The Earth
Step 1
We will start this guide with how to draw the Earth very simply. In this first step, we will draw a circle for the planet’s outline.
While this is easy, it can be much more difficult if you try to do it freehand. When drawing a perfect circle like this, it’s best to use a tool like a compass.
You can also use a drawing template if you need a tool like a compass handy.
You can even trace a flat, round object in a pinch to create the perfect circular shape. However, you end up drawing it, and once you have that circle, we can move on to the next step!
Step 2
Now you can add some continents to this drawing of the Earth. The continents look different depending on which axis the Earth is on, and we’re going to plot one possible angle.
You can always look at a globe or pictures online to create a different view of the Earth.
Right now, we are drawing the top of what Asia will be. You can use some angle lines to draw this continent’s tip as it looks in the reference image.
It also extends into the interior of the planet on the right. Then we can add more in the next step.
Step 3
We can now add more to the continents of your earth drawing. First, we will expand Asia further inland.
Add more curved lines coming down from the top right side of the continent, as shown in the reference image. Next, we draw the side of the African continent.
This has a rather sharp peak sticking out of the upper right side of the continent. It then thins out as you reach the base of the continent.
Finally, there is a small separate section in the bottom right of Africa that you can add before step 4.
Step 4
Before we finalize the final details of this drawing, let’s add the rest of the outline for Asia.
The bottom of this continent has some pointed parts that extend outwards, and just like Africa, there are also some small, separate parts near the outline.
Once you have completed this section, you should see the African part connected as it appears in our reference image.
Then you are ready for the final details in the next step!
Step 5
You’re almost ready to add some awesome colors in the final step of this Earth drawing guide! First, in this step, we will finalize the final continent details.

To do this, we outline Australia in the lower right part of the image. There will also be some thin and long shapes, again breaking away from the main contour of the continent.
Once you’ve added these details, you’re ready for the final step of the guide! However, you can also add some personal details or tweak things.
We mentioned how you could draw the Earth from a different angle and show other continents, so this is an idea to try.
You can also draw space in the background or add other objects like more planets or the sun!
Step 6
This is the last part of this design, and you can have fun adding some color to your creation.

In our relation image, we offered you how to colorize this picture.
We used blue for the Earth’s oceans and chose beautiful shades of green for the continents.
However, there are many approaches you can take, so how you color it is up to you!
You can try new artistic tools and mediums to give this design a vibrant look. We can’t wait to see you color this!
Your Earth Drawing is Finished!


